I was first inspired to try making sea salt after watching the 1982 film Gandhi's depiction of the 1930 Salt March, in which scores of people on a 24-day, 240-mile walk across India to the coast of Dandi to make salt as a protest against Britain's salt taxes and ban on salt production. The peaceful protesters from all walks of life simply filled shallow vessels with seawater and relied on direct sunlight to evaporate and refine hundreds of kilos of their own fresh, 100 percent sustainable sea salt.
The north coast of California has frequent fog, rain and significantly less sunshine than equatorial India. As a result, when making sea salt locally, I employ a cook pot and stovetop to expedite the process. By reducing the volume of seawater over a gas or electric burner (or a bed of coals if you are camped out), you can quickly get it down to a thick saline solution and significantly cut the time needed to produce crystalline salt.
The first step is simple: Check the weather. If you can get it, a five-day forecast free of rain is ideal for evaporation. If this is impossible, you can complete evaporation indoors or in the oven on low heat.
Find a good spot to fill up on fresh seawater. I usually do about a one-gallon batch at a time, which yields around a cup of salt. Keep in mind that this is not a cost saving enterprise, as salt is quite inexpensive here, but it is a good excuse to get out in the fresh sea air to have some fun. And the bounty is incredibly tasty. Select ocean locations based on water quality — avoid areas where creeks, storm drains or road culverts may empty into the sea. Also avoid harbors. Frequent boat traffic in those waters can lead to oil slicks that are only purged during violent storms, and you don't need petroleum in your table salt. Finally, natural pollutants such as sea mammal and bird feces must be avoided (so keep clear of rookeries) or your salt will be the talk of the party for all the wrong reasons. It is also best to get your water in rocky areas rather than beach environments to avoid sand in your salt. If you go at a low tide, it will be easy to find a pool with clear water and have your bottle filled and ready for processing in less than a minute.
Bring your fresh seawater home, pour it in a pot and set it on the stove to boil over high heat. Reduce the heat and keep the water boiling until a thick and cloudy slurry about 1 inch deep is all that is left at the bottom. Now carefully transfer the liquid to broad open baking dish and cover with cheesecloth or a wire screen to keep out bugs and debris and take it outside to sit in direct sun. On a hot day, most of the water will evaporate within eight hours.
After two or three days, there will be a bed of big, beautiful salt crystals on the bottom of the dish with a tiny amount of oily liquid which you can pour off. Scrape up the crystals and spread them thin on a dry baking dish and place it under a hot broiler for a few minutes. Watch the salt closely so it does not burn. You are just trying to evaporate the remaining moisture from the salt. Remove the dried-out salt and let it cool.
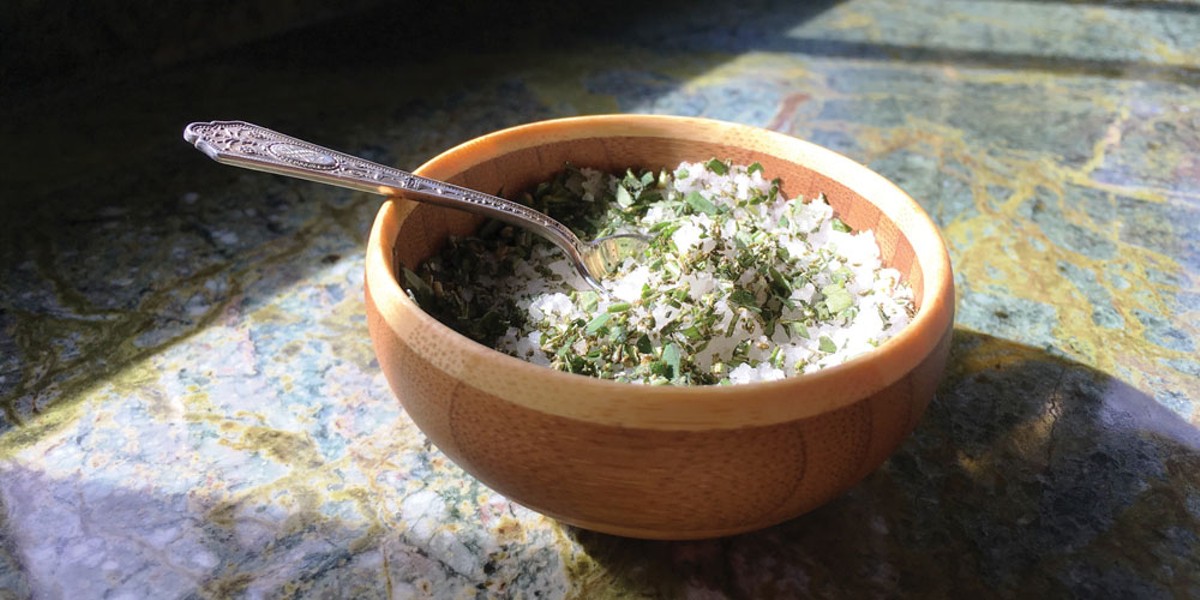
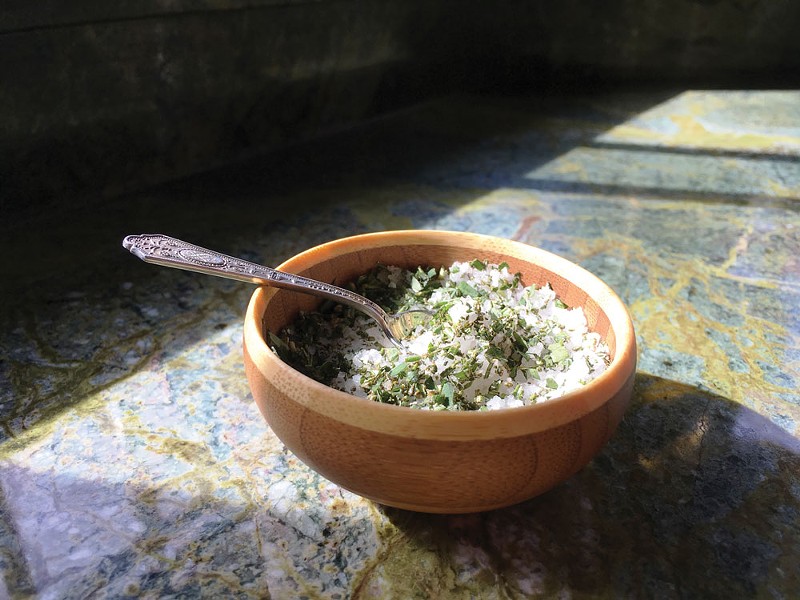
Use the coarse salt on homemade pretzels or grind it finely with a mortar and pestle for finishing salt. If you like, you can infuse it with herbs and sprinkle it on all sorts of breads and dishes. I like oregano, garlic and rosemary in mine. These herb salts add incredible flavor to fish, poultry, wild game, potatoes and veggies.

Comments