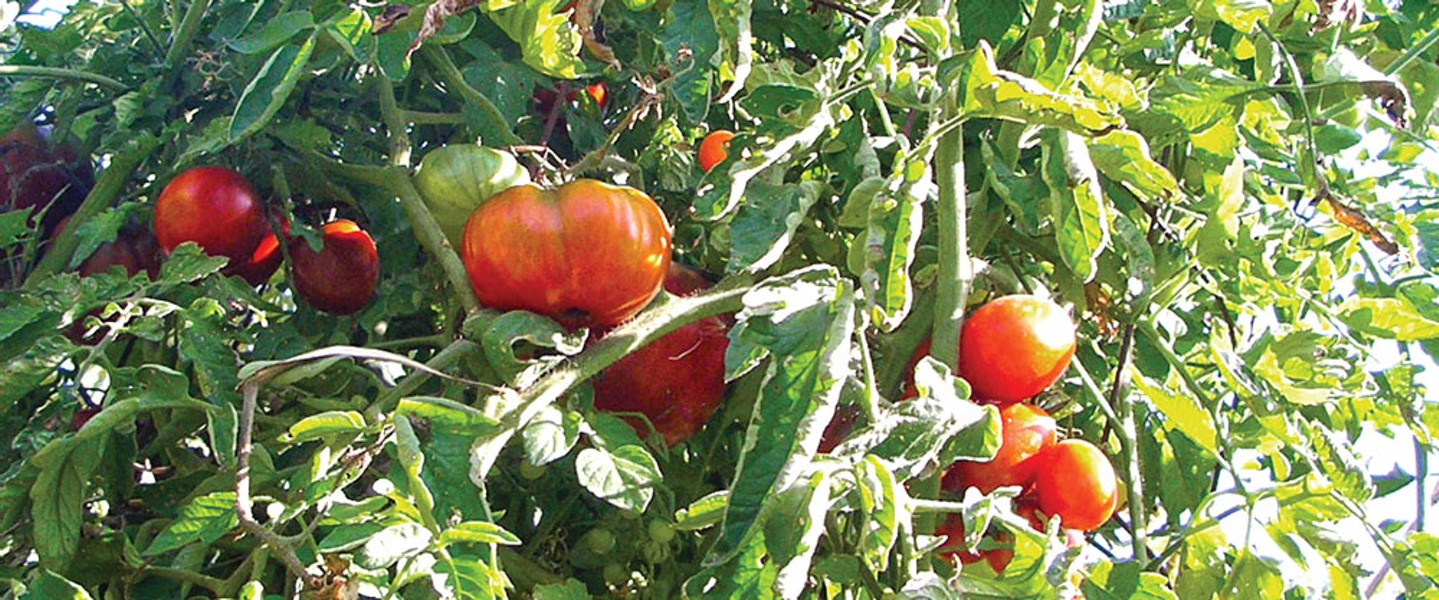
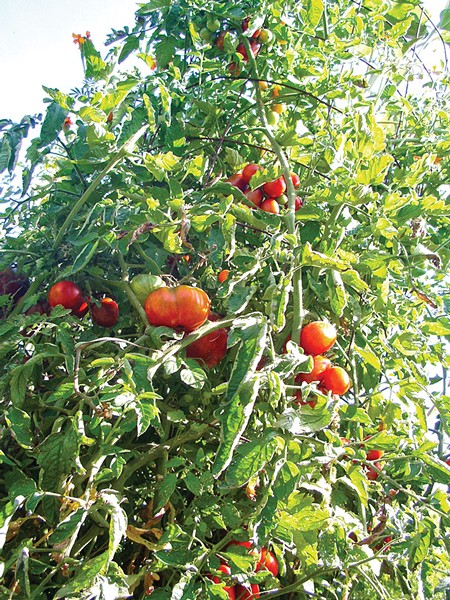
In a foggy, temperate climate, most of us know the drill: Start seeds indoors in early spring and use grow lights if you have 'em. Plant in fertile soil with plenty of space in mid-June. Trellis, water, prune and pray and maybe, just maybe, get some homegrown tomatoes before the rains come again in September, when what started out as a savory dream of salsa and gazpacho turns into six pounds of green tomatoes topped with powdery mildew and hopeful plans for next year.
But there's hope! Tomatoes are native to the foggy forests of the Andes mountains, and with well-chosen heirloom varieties and a few useful tips, you can grow more tomatoes than you'll know what to do with.
Varieties
In this case, size matters, and smaller is better. Cherry tomatoes are always a good bet. Salad and plum tomatoes are bigger than cherries, do well in this climate, and come in a wide variety of flavors, shapes and colors. Avoid giant slicing tomatoes like Brandywines and Oxhearts. Here are my favorite tomatoes for a temperate garden, based on disease resistance, early and extended harvest, and yield:
Green Zebra. A gorgeous, green-and-yellow-striped salad tomato with a bright, sweet flavor. Very prolific, a single plant can yield several dozen fruits.
Garden Peach. Named for the subtle fuzz and pinkish-yellow color, this salad tomato is one of my all-time favorites. Not as prolific as the Green Zebra, but with such a distinct, delicious flavor, you just have to try them!
Taxi. Bright yellow, it's one of the larger varieties of salad tomato. More saucy and savory than Green Zebra or Garden Peach, Taxis can be quite prolific and are a good choice for canning.
San Marzano. This is a classic red plum variety that does really well in a marginal climate. Fruits are shaped like a small Roma, and ripen quickly in tight, savory clusters. Excellent for canning. As with many of these varieties, San Marzanos have a long, wonderful history that I don't have space for in this article, but it's worth looking up online.
Early Girl. The "old faithful" of the temperate tomato world, Early Girls are a mid-sized, sweet slicer that won't disappoint.
Willamette & Oregon Spring. As the names indicate, these two similar varieties were bred for temperate gardens. The mid-sized, orange-red fruits ripen early and provide a juicy flavor that is perfect for slicing, sandwiches and fresh eating.
Stupice. Another mid-sized variety, with bright red fruits and an early harvest. Saucy and savory, great for raw eating and also for cooked recipes.
Black Krim. This is one of many varieties of tomato bred for success in Russian climates. They are tolerant of hot days and cold nights, which makes them a great option for Southern Humboldt gardens. The large, blackish fruits are juicy and savory, delicious in salsa or salad. If you can't find Black Krim, keep your eye out for other "Siberian" tomatoes, as they tend to do well in temperate gardens.
Growing Tips
Microclimates. Grow tomatoes in the hottest place in your garden. Prune low-hanging branches of nearby trees to get as much sun as possible. If there is a wall or a fence nearby, paint it white to maximize the heat reflection of the sun onto your plants. Mulch with bright rocks. A greenhouse is a perfect microclimate for tomatoes, as long as they don't get over-watered.
Watering. Once they start to bloom, tomatoes need little water, and young plants get moldy if they're too wet. Overwatered tomatoes are more susceptible to rot, mildew, yellowing and split, watery fruit. Also avoid irregular watering — don't dry them all the way out and then drench them to make up for it. This will cause "blossom end rot" and weird-shaped fruit. Set a regular, light watering schedule and stick to it. Once the fruit starts to ripen, reduce watering by half. Also, when you do water, avoid spraying overhead or you could cause the leaves to get spots from "sunburn." Hand-water in the early morning, pointing the hose toward the roots of the plants, or use soaker hoses or drip irrigation.
Fertility. Tomatoes can grow in many different soil types but it's important not to over-fertilize them or they will turn into big leafy bushes with no fruit. Sow seeds in a light soil and transplant them into a rich compost. I don't use high-nitrogen fertilizer (read: poop) but I do recommend seaweed, oyster shells, wood ash and comfrey compost tea.
Weeding & Trellising. Successful gardening requires good air circulation. Use vertical space to create it. Tomatoes love to climb. Trellising makes use of vertical space and lifts ripening fruits off the ground and away from would-be marauders like slugs and rats. Use Handi-mesh tubes like the cages used by pot farmers, to build space-saving, easy to harvest tomato towers: Set up the cage, anchor it down, and plant tomatoes 10 inches apart around the cage. Stick a sunflower in the middle so it can grow out the top. As the tomatoes grow, poke them in and out of the Handi-mesh. I plant marigolds and cilantro on the ground between the towers. The marigolds repel tomato-loving insects, and the cilantro tastes great!
Thinning & Pruning. If you don't have full sun, and/or if you're growing large-fruited tomatoes, pinch off a third of the unripe fruits before they get too big. This allows the plant to focus on ripening fruit better. As for pruning, don't. Those fruitless, lateral branches provide balance, support and photosynthesis, and anchor the plant to the cage. Leave them. If leaves turn yellow, bust them off.
Save Your Seeds! Finally, when you get a good crop, save the seeds! Tomatoes are self-pollinated, so you can save seeds without worrying about inbreeding problems. It's easy:
1. Collect ripe, undiseased fruits and squeeze the gooey seeds into a glass jar.
2. Add enough water to fill the jar halfway and cover with a piece of cardboard to let air in but keep bugs out.
3. Set on a shelf and let ferment for 5 to 7 days or until it really starts to stink! This fermentation process removes the slimy seed coat, kills seed-borne diseases and separates good seeds from bad. Bad seeds float, good seeds sink.
4. When a thick skin of mold forms across the top of the seedy liquid, fill the jar with water and swirl it around to sift and separate the contents. Carefully pour off the mold without dumping the good seeds out. Add water again and pour it off. Do this a few more times until all you have is clear water with clean seeds sunk to the bottom.
5. Pour through a tea strainer and carefully tap out the clean, wet seeds onto the inside of a folded piece of paper bag. Label and set in a dark place to dry for at least two weeks (or run them through a food dehydrator on the lowest setting overnight) and stash them in a tightly sealed jar or envelope.
Good luck and happy harvesting!
Heather Jo Flores is the author & founder of "Food Not Lawns." Connect with her online at www.foodnotlawns.org and www.facebook.com/foodnotlawns.


Comments